Choosing and Preparing Slab Plywood

Selecting the right type of plywood and preparing it properly is crucial for creating durable and aesthetically pleasing cabinet doors. The choice of plywood will impact the final look, strength, and longevity of your doors. Careful preparation ensures a smooth, even surface ready for finishing.
Plywood Types for Cabinet Doors
Several types of plywood are suitable for cabinet doors, each with its own advantages and disadvantages. The optimal choice depends on factors such as budget, desired durability, and the overall style of the cabinets.
| Plywood Type | Thickness (common) | Cost (relative) | Durability |
|---|---|---|---|
| Birch Plywood | 3/4 inch | Medium-High | High; strong, stable, and holds screws well. |
| Maple Plywood | 3/4 inch | Medium-High | High; similar to birch, with a slightly finer grain. |
| Oak Plywood | 3/4 inch | Medium-High | High; strong and durable, with a distinct grain pattern. |
| Poplar Plywood | 3/4 inch | Medium-Low | Medium; less expensive but still suitable for many applications. |
| MDF (Medium-Density Fiberboard) | 3/4 inch | Low | Medium; very smooth surface, but less durable than plywood. Susceptible to moisture damage. |
Plywood Selection Based on Cabinet Size and Use
The selection process considers the cabinet’s dimensions and intended use. Larger cabinets or those subjected to heavy use benefit from thicker, more durable plywood. Smaller cabinets in less-demanding areas can utilize thinner, less expensive options. For example, a large pantry door might require 3/4-inch thick birch plywood for strength and stability, whereas a smaller bathroom vanity door might suffice with 1/2-inch poplar plywood. Always account for the weight the door will need to support.
Sanding and Preparing Plywood
Achieving a smooth surface is critical for a professional finish. This involves several steps using appropriate tools. First, inspect the plywood for any imperfections such as knots or voids. These can be filled with wood filler and sanded smooth once dry. Then, begin sanding with progressively finer grits of sandpaper, starting with a coarser grit (e.g., 80-grit) to remove any major imperfections and gradually moving to finer grits (e.g., 120-grit, 180-grit, and 220-grit) to achieve a smooth, even surface. A random orbital sander is highly recommended for efficiency and consistent results. Hand sanding can be used for detailed areas or edges. Always sand in the direction of the wood grain to avoid scratches. After sanding, thoroughly clean the surface with a tack cloth to remove any dust particles.
Visual Description of Prepared Plywood
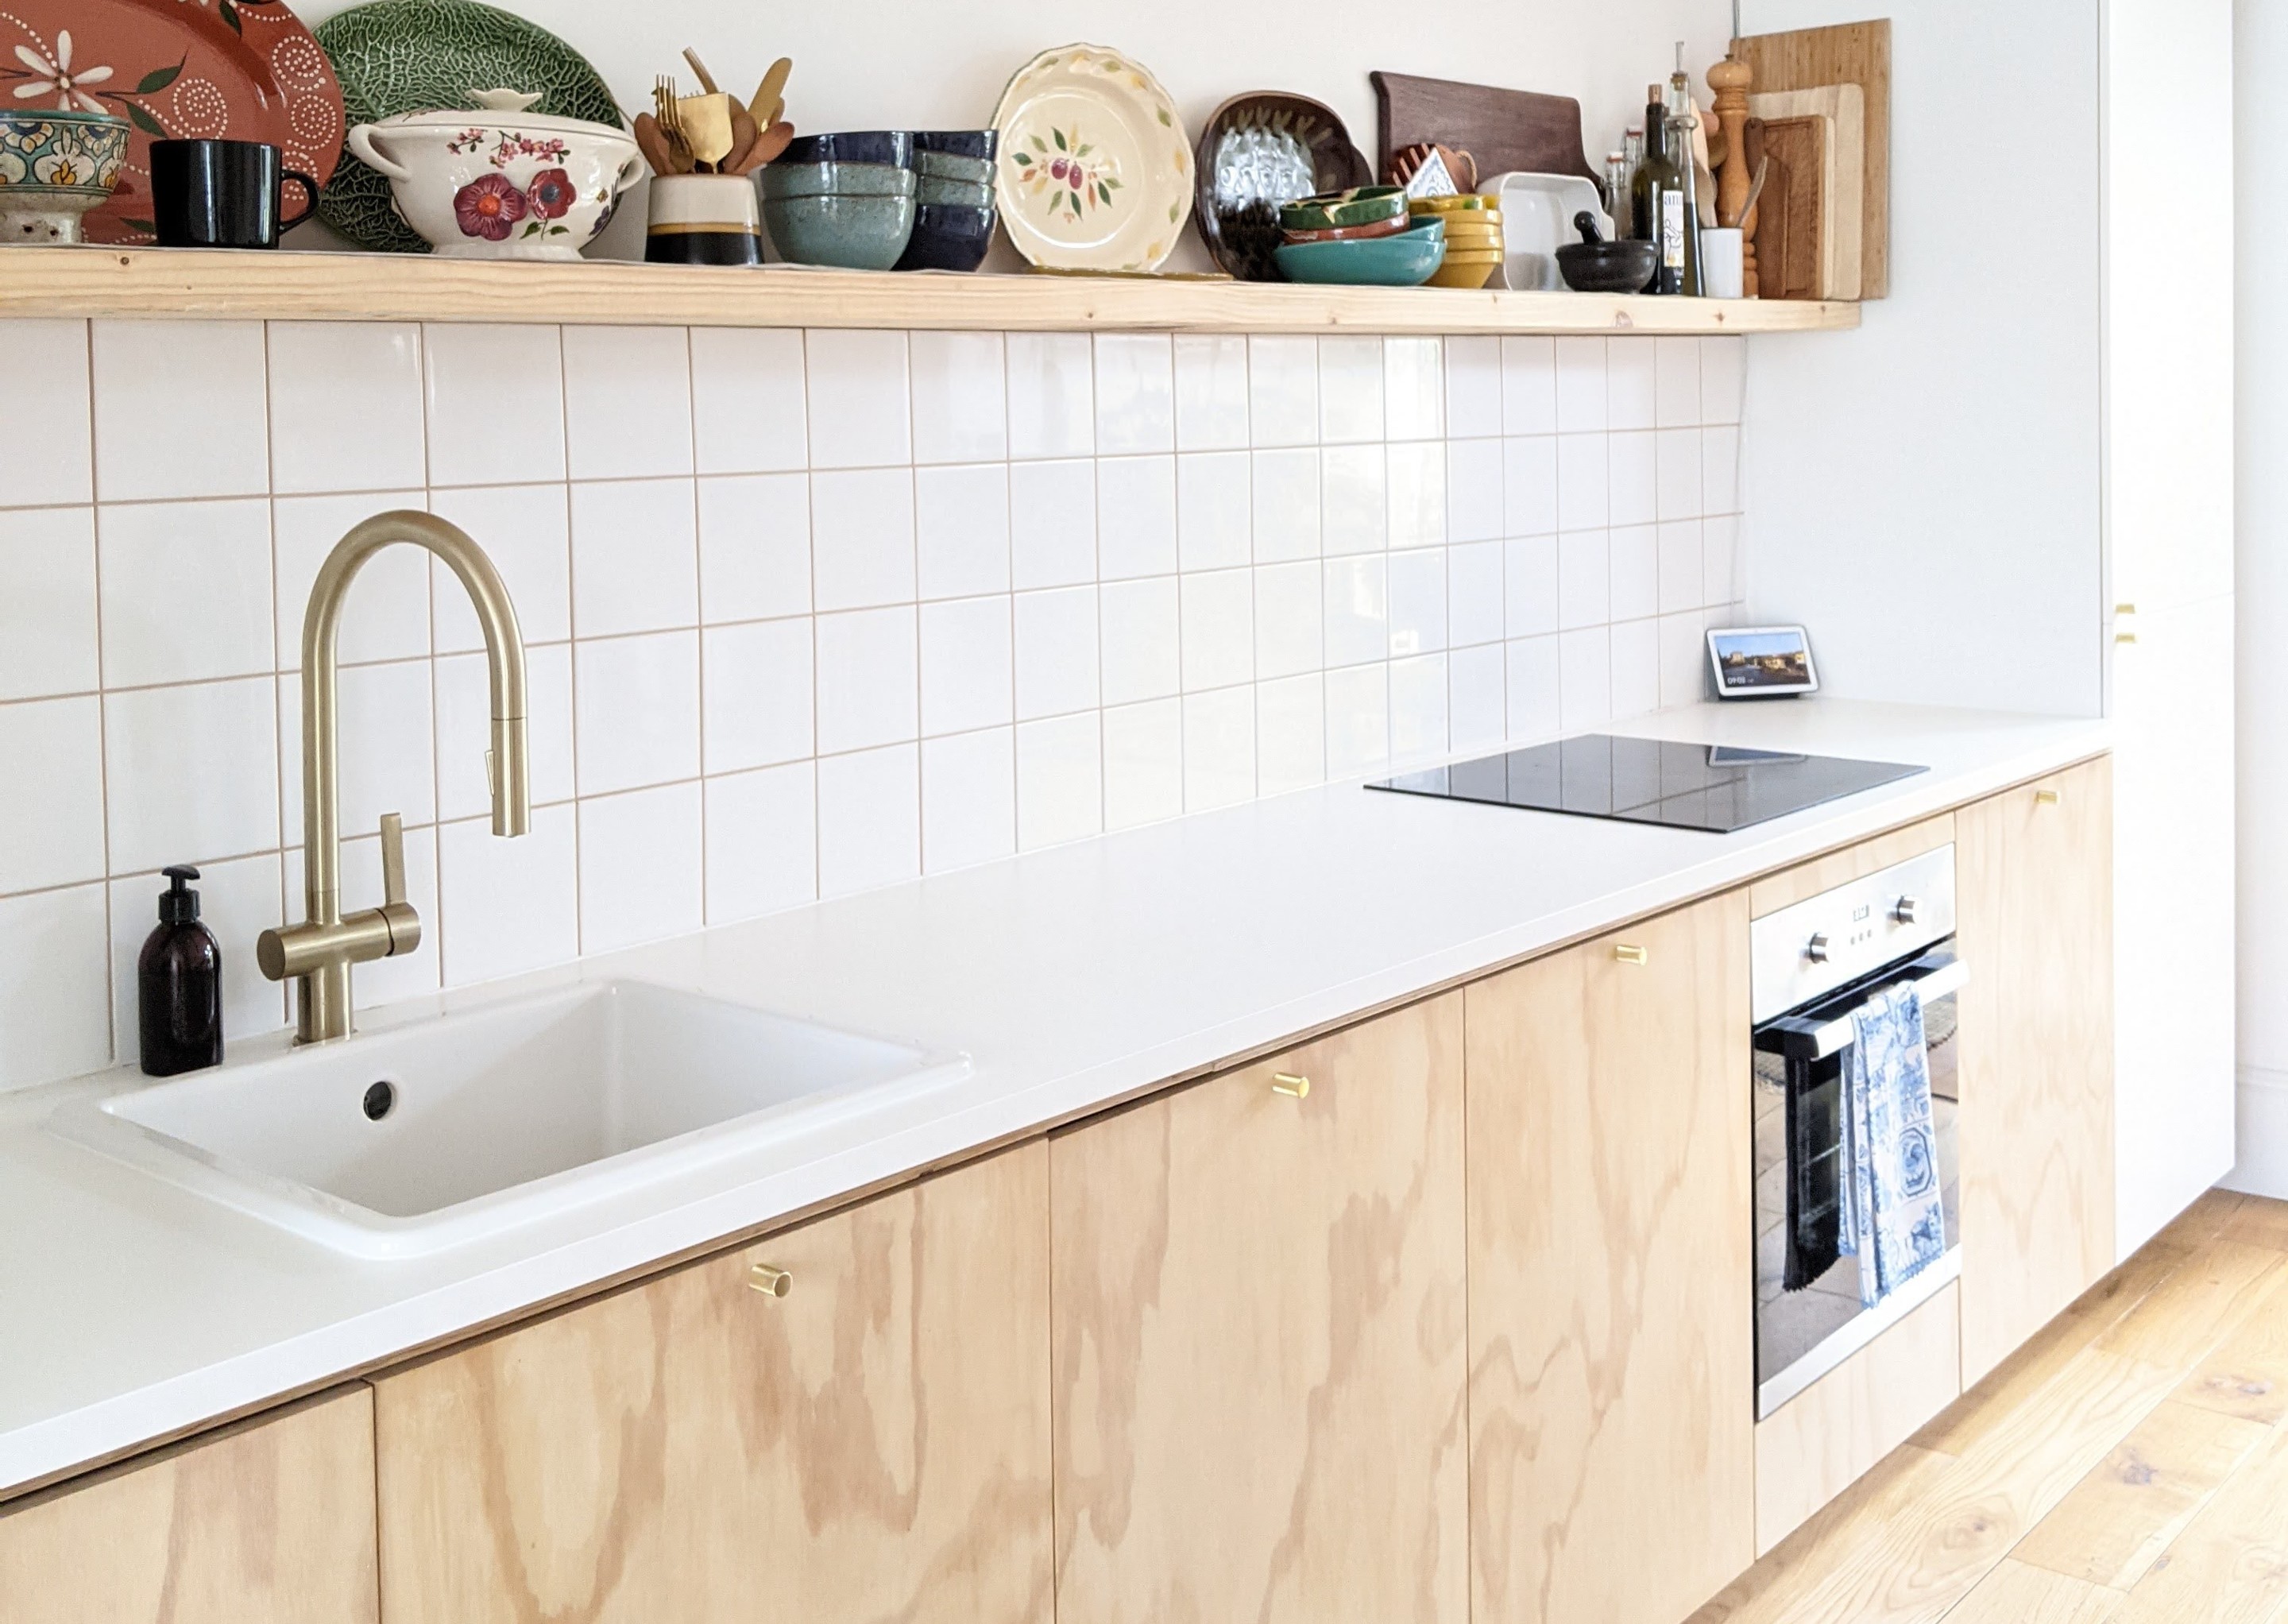
Properly prepared plywood will exhibit a uniformly smooth surface, free from scratches, dents, or other imperfections. The grain will be visible but even, and the surface will be dust-free and ready to accept a finish. The edges will be clean and square, and any filled imperfections will be seamlessly integrated into the surface. The overall appearance should be clean, even, and professional, reflecting a high level of preparation for subsequent finishing steps. Imagine a piece of plywood with a soft, even sheen, devoid of any noticeable blemishes, ready to receive stain or paint.
Cutting and Shaping the Plywood Slabs

Precise cutting and shaping are crucial for creating high-quality, well-fitting cabinet doors from plywood slabs. Accuracy in this stage directly impacts the final appearance and functionality of the doors. Careful planning and the selection of appropriate tools are essential for achieving professional results.
How to make slab plywood cabinet doors – Several methods exist for accurately cutting plywood slabs to the desired dimensions. The choice of method depends on factors such as the available tools, the scale of the project, and the desired level of precision. Accuracy is paramount to ensure the doors fit seamlessly into the cabinet frames.
Plywood Cutting Methods
Various tools and techniques can be employed for cutting plywood slabs, each offering different levels of precision and efficiency. Selecting the right method ensures clean cuts and minimizes material waste. The following Artikels common approaches:
- Circular Saw: A circular saw, equipped with a fine-tooth blade designed for plywood, offers a relatively fast and efficient method for cutting large sheets. A guide fence or straight edge is crucial for maintaining accuracy. This method is ideal for rough cuts and initial sizing.
- Table Saw: For more precise and controlled cuts, a table saw is highly recommended. Using a miter gauge allows for accurate angles, while a rip fence ensures straight cuts. This method is preferred for creating clean, consistent cuts for multiple doors.
- Jigsaw: A jigsaw offers versatility for cutting curves and intricate shapes. However, it requires a steady hand and careful control to maintain accuracy. This is best suited for creating custom door designs or intricate cutouts.
- Hand Saw: While less efficient than power tools, a hand saw provides a good level of control, especially for smaller cuts or intricate work in tight spaces. This is suitable for smaller projects or fine adjustments after using power tools.
Creating Different Door Styles
The shaping process transforms basic plywood slabs into aesthetically pleasing cabinet doors. Different cutting techniques and tools are used to create various styles.
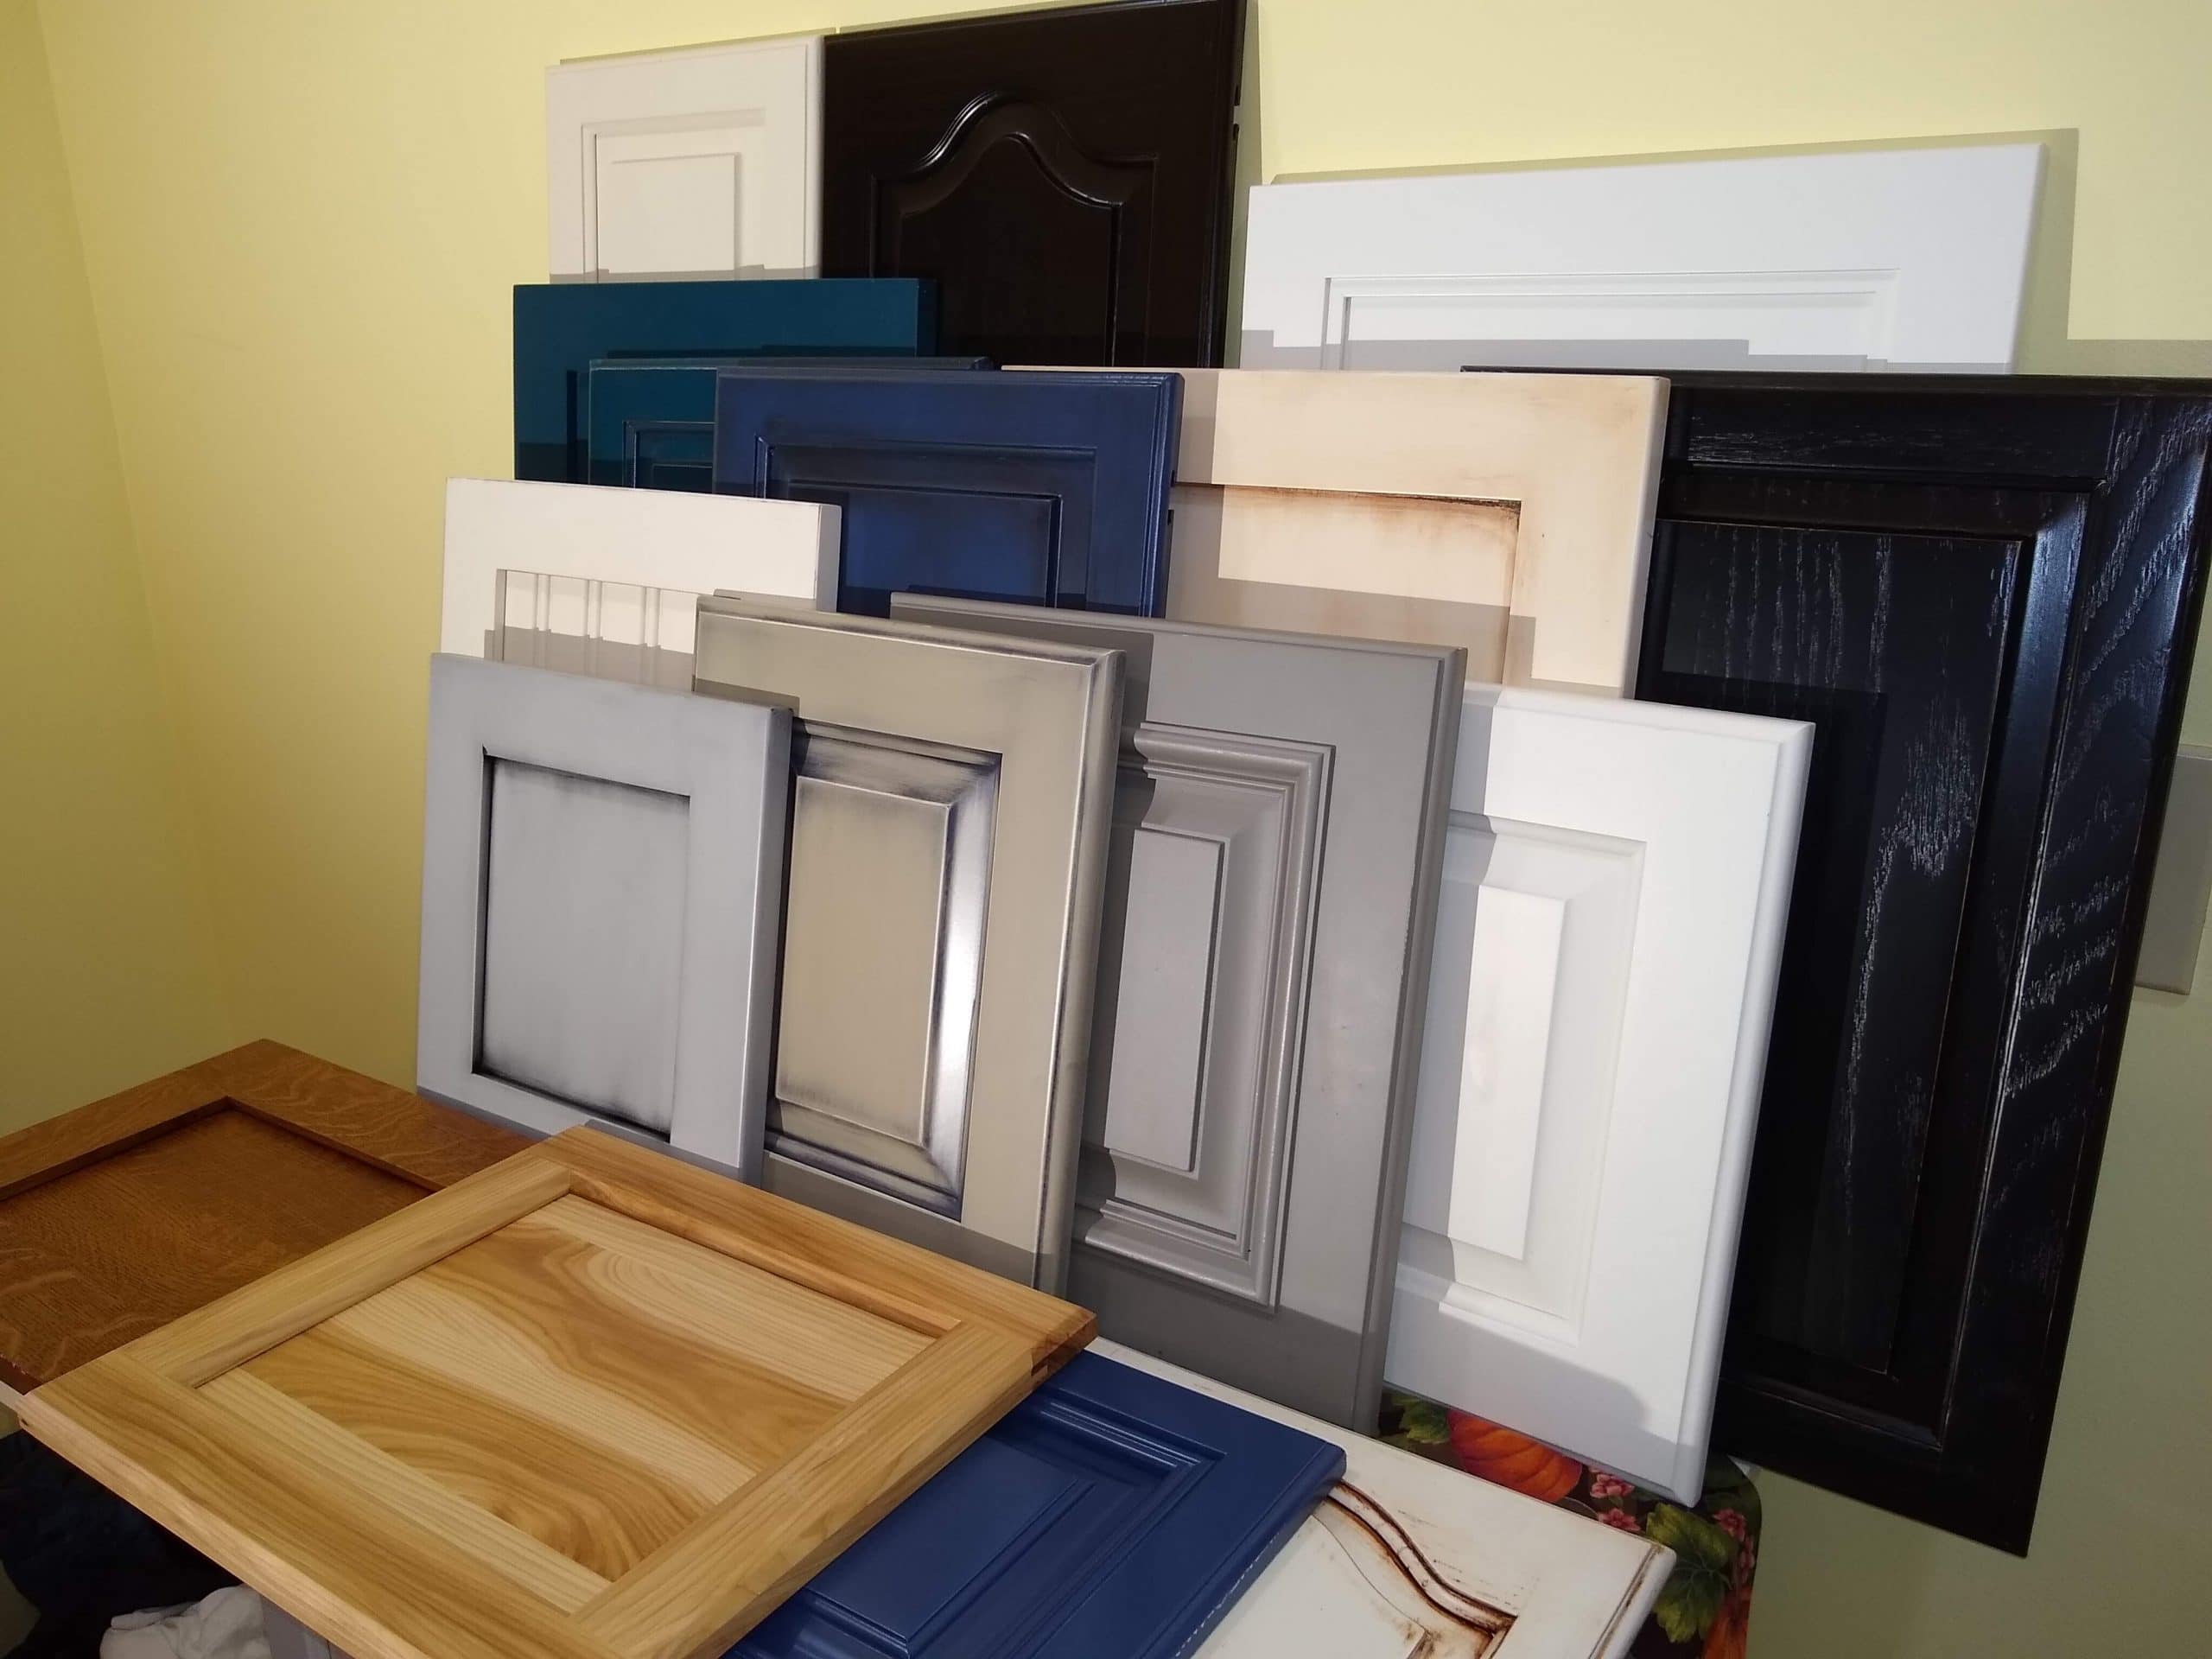
- Flat Panel Doors: These doors are characterized by a simple, flat surface. They require minimal shaping beyond the initial cutting to the final dimensions. The edges may be finished with a router or sanding for a clean look.
- Raised Panel Doors: Raised panel doors feature a recessed central panel surrounded by a raised frame. This style involves cutting the panel recess using a router with a suitable bit, or by using a dedicated panel-raising bit in a router table. The panel itself can be a separate piece of plywood, carefully fitted into the frame. A visual representation would show a recessed central area surrounded by a slightly raised frame, creating depth and visual interest.
Minimizing Waste and Maximizing Material Efficiency
Careful planning is crucial to minimize plywood waste. Optimizing the layout of cuts on the plywood sheet before cutting is essential for efficient material usage. Software programs and online calculators can assist with optimizing the layout to reduce waste.
- Careful Planning: Before cutting, create a detailed plan showing the layout of all door components on the plywood sheet. This minimizes waste by utilizing scraps for smaller parts.
- Nested Cuts: Where possible, nest cuts to minimize the amount of wasted material between pieces. This is particularly effective when cutting multiple doors of the same size.
- Scrap Utilization: Utilize smaller pieces of scrap plywood for smaller components, such as rails or stiles in raised panel doors, or for test cuts.
Simple Cutting Jig for Consistent Cuts
A simple jig can ensure consistent and accurate cuts across multiple doors. This increases efficiency and improves the overall quality of the doors.
A straightforward jig can be constructed from a piece of scrap plywood or MDF. It should have a fence attached to it at a 90-degree angle, allowing for consistent spacing from the blade. For multiple cuts, use stops on the jig to ensure consistent door sizes. Clamping the jig to the workpiece ensures stability and accuracy during the cutting process. A visual description would show a rectangular piece of wood with a fence attached, acting as a guide for the saw blade. Stop blocks could be attached to the jig to control the length of the cut.
Finishing and Installation: How To Make Slab Plywood Cabinet Doors

Transforming raw plywood slabs into elegant cabinet doors requires careful finishing and precise installation. The choice of finish significantly impacts the door’s appearance, durability, and overall aesthetic appeal. Similarly, proper installation ensures the doors function smoothly and seamlessly integrate into the cabinetry.
Finishing Techniques for Slab Plywood Cabinet Doors
The final appearance and longevity of your cabinet doors depend heavily on the finishing technique. Three popular methods—painting, staining, and clear coating—each offer distinct advantages and disadvantages. The best choice depends on your desired aesthetic and the overall style of your kitchen or space.
| Finishing Method | Pros | Cons | Application Instructions |
|---|---|---|---|
| Painting | Hides imperfections, wide color selection, durable, easy to clean. | Can hide the natural wood grain, requires careful preparation to avoid brush strokes, may chip or scratch with impact. | 1. Sand the plywood to a smooth finish (120-220 grit). 2. Apply a quality primer, allowing ample drying time. 3. Apply at least two coats of high-quality cabinet paint, sanding lightly between coats. 4. Finish with a protective clear coat for added durability. |
| Staining | Showcases the natural wood grain, wide range of colors and finishes, enhances wood texture. | Requires careful preparation, susceptible to scratches and water damage if not properly sealed, color may vary depending on wood type. | 1. Sand the plywood to a smooth finish (120-220 grit). 2. Apply a wood conditioner to ensure even stain absorption. 3. Apply stain according to manufacturer’s instructions, wiping off excess immediately. 4. Allow ample drying time. 5. Apply several coats of polyurethane or other clear sealant for protection. |
| Clear Coating | Protects the wood from damage, enhances natural color and grain, easy application. | Does not hide imperfections, requires flawless surface preparation, can yellow over time (especially with polyurethane). | 1. Sand the plywood to a smooth finish (120-220 grit). 2. Apply a high-quality wood filler to any imperfections and sand smooth. 3. Apply several thin coats of clear coat (polyurethane, varnish, or lacquer), allowing ample drying time between coats. 4. Lightly sand between coats with fine-grit sandpaper (320 grit or higher). |
Cabinet Door Installation, How to make slab plywood cabinet doors
Proper installation ensures the doors function correctly and enhance the overall appearance of your cabinetry. The process involves attaching hinges and installing the necessary hardware.
Attaching Hinges: Most cabinet doors utilize European-style hinges, which are concealed within the door and cabinet frame. These hinges typically require precise placement using a jig or template for consistent alignment. The hinges are screwed onto the door and cabinet face, ensuring proper alignment and a smooth opening and closing mechanism. A visual description would show the hinge cup being mortised into the door, the hinge arm attached to the cabinet frame, and the door perfectly aligned when closed. The screws should be countersunk and the holes filled with wood filler for a seamless finish.
Installing Hardware: After the hinges are installed, knobs, pulls, or handles are attached to the cabinet doors. The placement of these elements should be consistent across all doors for a uniform look. Consider the door’s design and the overall kitchen aesthetic when selecting hardware. A visual description would depict the placement of the hardware, ensuring that it is centered and properly aligned. The hardware should be firmly attached, with screws countersunk and any holes filled with wood filler to maintain a clean appearance.
Final Adjustments: After all doors are hung, check for proper alignment and smooth operation. Minor adjustments can often be made to the hinges to ensure a perfect fit and effortless movement. A visual description would show the doors opening and closing smoothly, without binding or catching. The final step is to carefully clean any excess dust or debris, leaving the doors ready for use.
